In the previous tutorial, we have seen a brief introduction to Arduino, different types of Arduino boards, the hardware and software components of a typical Arduino board and also the features of the Arduino UNO board, the main board for this tutorial.
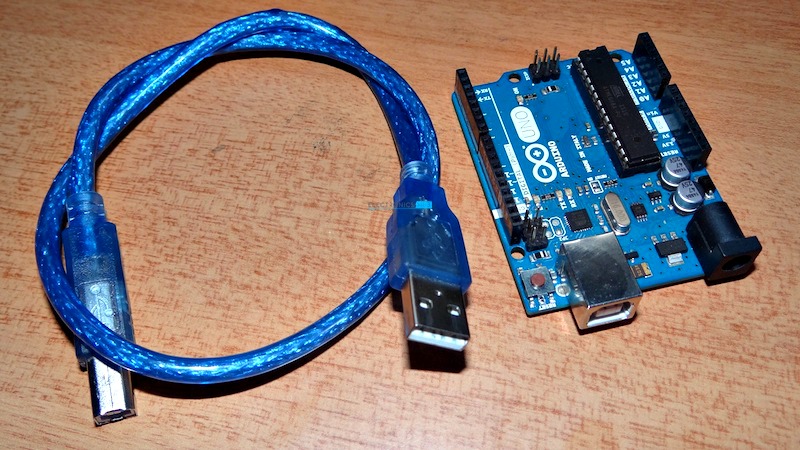
In this tutorial, we will see the installation of Arduino IDE and explore its components and features. For the purpose of the tutorial, we need few components: an Arduino UNO board, a USB cable and a computer.
Note: The USB cable is a Type – A to Type – B cable.
Arduino is different from other platforms available in the market like 8051, AVR, PIC, ARM etc. One of the main difference is that, Arduino is a multi platform environment i.e. we can use Arduino irrespective of the platform or operating system.
We have already seen in the previous tutorial that Arduino can be programmed with the help of USB cable and Arduino Integrated Development Environment (IDE). The important component is the Arduino IDE.
Arduino IDE is a cross platform application developed using Java. It is available for Windows, Linux and Mac operating systems.
In order to download the Arduino IDE, go to the downloads page in Arduino’s official website https://www.arduino.cc/en/Main/Software
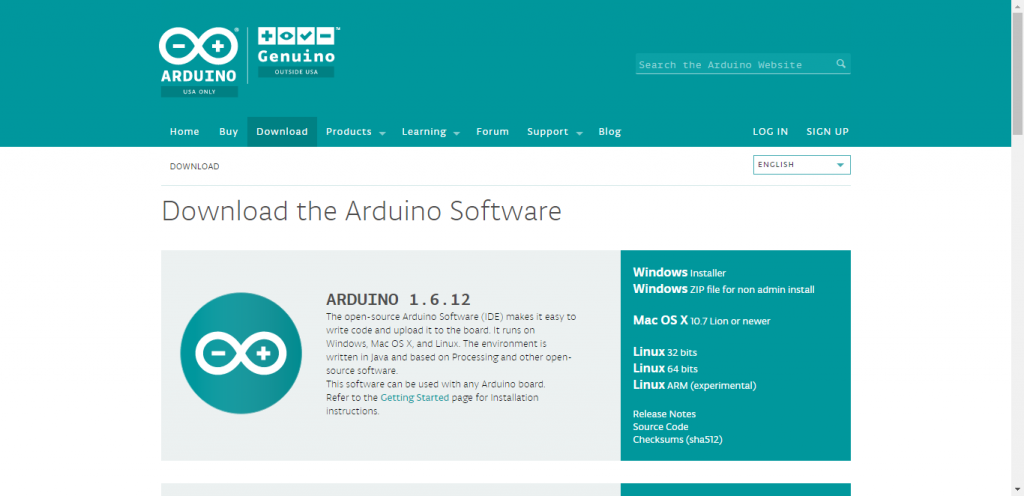
- Here, we can see download options for different platforms like Windows, Mac and Linux on the right side of the page. As our system in our tutorial is focused on Windows Operating system, we will download the software mentioned under Windows category.
- You can note that there are again two download options for Windows platform: installer file and zip file. Installer file will be a .exe file, which is a single executable file that helps in step by step installation of the software.
- In case of zip file, the installed files will be available in different folders. Since the software is already installed, we shouldn’t disturb the structure of the sub folders. This is suitable if you do not have the admin rights to the system.
- Here, we will download the installer file and proceed with installation. When the downloaded files is started, an installation dialog appears with some check boxes.
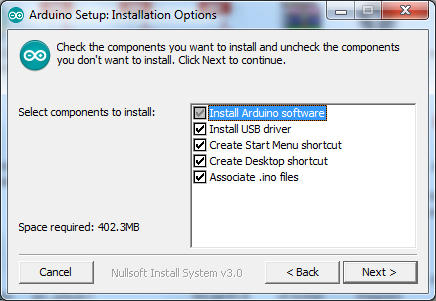
- Here, the second option indicates to install the USB drivers for the Arduino. This option will install the necessary USB drivers for Arduino board by default which will ensure that the Arduino board can be directly used without any worry.
- As we proceed to the next step of the installation, the Arduino IDE will start installing.
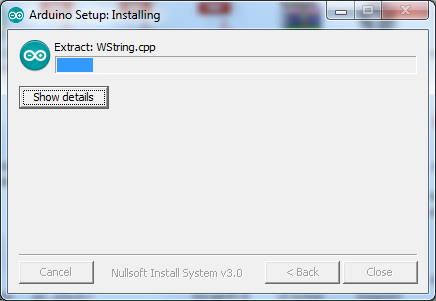
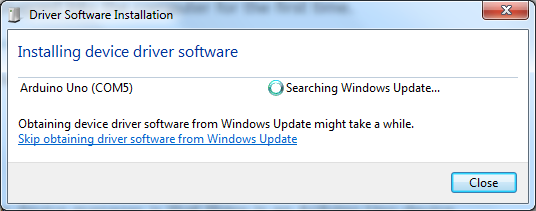
- A bunch of libraries, examples and other important files get extracted to the specified folder. Once the installation is complete, the setup asks us to install the drivers for USB. If we select the install option, the driver installation option will start and the setup will automatically search for drivers.
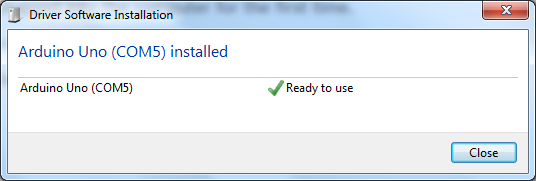
- If the driver software installation setup finds the required drivers, it will show the same by displaying a message as Arduino Uno Ready to use.
- After successful installation of the IDE and the necessary drivers, we can check for the confirming whether all the necessary drivers are installed or not.
- So, first we need to connect the Arduino UNO board to the computer i.e. USB Type A cable to the USB port on the PC and USB Type B to the Arduino board.
- After connecting the Arduino, we need to go to “Device Manager” from the control panel. This tool will display the list of all internal and external devices connected to the system.
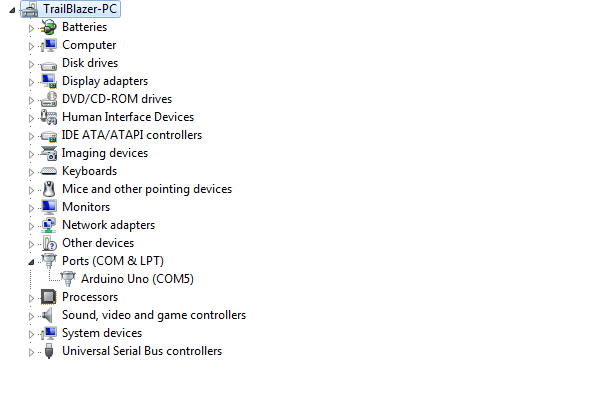
- If the drivers are successfully installed and the system recognizes the device, we can find the Arduino Uno board connected to one of the COM ports in the “Ports” category in the device manager.
- It is important to note the number of the COM port to which Arduino is connected. This is because we may connect many devices and even multiple Arduino boards and each device can be differentiated by the COM port.
- If the Arduino Uno is not listed in Ports but in “Other devices” category, then the drivers of the USB to serial adapter are not successfully installed.
- In this case, we can manually install the drivers. For this, right click on the device in other devices category and select update driver software option.
- Then select the second option i.e. browse my computer for installing drivers located on the computer. Go to the location where Arduino is installed and go to drivers folder in that. In that folder, select the “arduino-org.inf” file. Then Windows will install the necessary drivers from here.
- At this point, we have successfully installed the Arduino IDE and the USB drivers for Arduino. Next, we need to setup the Arduino IDE as per our board and the COM port it is connected to.
- Launch the Arduino IDE either by selecting the desktop shortcut or by going to the folder where it is installed. When the IDE is launched, a blank sketch will open.
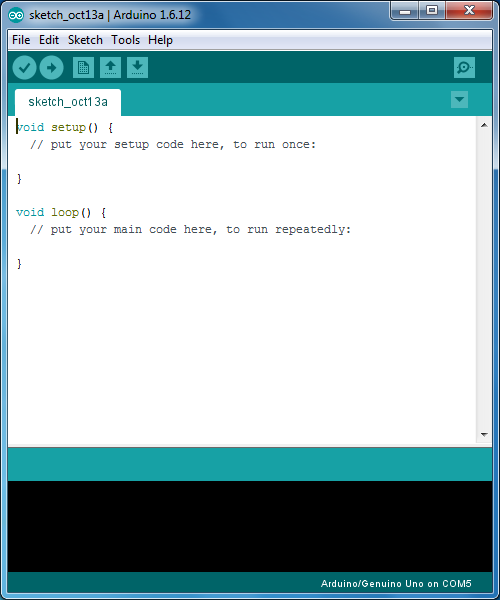
- Before going in to the programming, there are two things we need to do. First is too select the appropriate board and next to select the correct COM port to which it is connected.
- For this, go to Tools menu in the menu bar and go to Board option from the drop down list. Here, we can see a list of all the Arduino compatible boards.

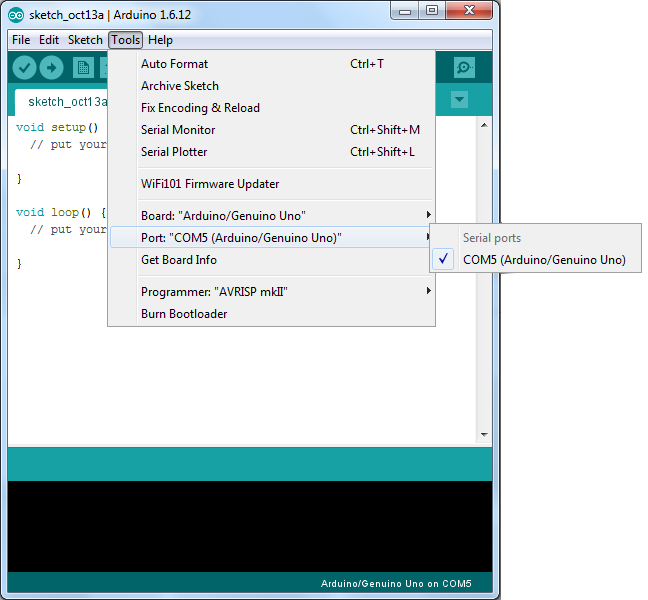
- From this list, we have to select Arduino Uno (or whichever board you are using). Once the correct board is selected, we have to select the correct COM port. For this, again go to Tools and select Port option. Here, we can see the COM port to which the Arduino board is connected and we need to select that port.
With this step, we have successfully installed the Arduino IDE, connected the Arduino UNO to the computer and made the necessary settings as per the board and port in use.
In the next tutorial, we will see how to use the Arduino IDE and upload the first program to our Arduino.
